Showing posts with label Tiny Tags. Show all posts

Monday, May 20, 2013

Wedding Heart Ring

I wanted to do a card with layers of hearts.  I lined up the Framelits and cut the card front.  I then embossed the floral across the front  and pulled out every other heart.  The front and the hearts are popped up on dimensionals.  This card is a combo of old and new.The Tiny Tags is retiring the end of the month but the Label Love set and the clay flowers are in the new catalog. I am in love with the clay flowers (and buttons).  They are flexible and easy to make how you want them.  They can be colored or glittered (like I did here)  You will see them a lot on up-coming cards!


Details:
Stamps: Tiny Tags, Label Love 
Paper: Whisper White
Ink: Versa Mark
Accessories: Silver Embossing Powder, Simply Pressed Clay, Dazzling Diamonds, Bird Builder Punch, Big Shot, Hearts Collection Framelits, Artisan Label Punch

Photobucket

Wednesday, May 08, 2013

Wedding Day

Such a simple yet elegant card to do. Not my original idea.   I have seen many concepts down this line.


Details:
Stamps: Itty Bitty Banners, Tiny Tags
Paper: Basic Black, Whisper White, Basic Grey
Ink: Basic Grey
Accessories: Big Shot, Heart Collection Framelits, Pearls, Bitty Banners Framelits, Floral Impression Folder

Photobucket

Monday, April 08, 2013

Baby Rattle


I wanted an elegant baby card.  I did a rattle card a  couple of years back for my niece when she was born and decided to go down the same path with this one.  I am trying to use up a lot of my retired paper.  I had nothing to match the color to go with the top of the rattle so I ended up stamping the pattern on it.  The rattle is popped up on dimensionals.

Details:
Stamps: Teeny Tiny Wishes, Tiny Tags 
Paper: Soft Suede, Very Vanilla, Retired DSP
Ink: Soft Suede
Accessories: Big Shot, Perfect Polka Dots Impression Folder, Top Note Die, Word Window Punch, Scallop Trim Border Punch, 3/4" Circle Punch, 1/2" Circle Punch, 1-3/8" Circle Punch, 3/8" Crumb Cake Taffeta Ribbon

Photobucket

Monday, March 25, 2013

Friends


Have you heard me say "I love this set!" It has such great sayings and images.  I used a piece of tape to cover the image/saying as needed so that I could get just what I wanted where.


Details:
Stamps: Lean on Me, Tiny Tags
Paper: Crumb Cake, Very Vanilla, Bashful Blue, Marina Mist, Retired DSP, 
Ink: Cajun Craze, Crumb Cake, Peach Parfait, Early Espresso
Accessories: 7/16" Naturals Trim Ribbon, Tag Punch, Circle Punch-Itty Bitty Shapes Punch, Decorative Label Punch, Big Shot, Flower Garden Impression Folder, Linen Thread

Photobucket

Wednesday, October 03, 2012

Patches


I bought this set because I saw the card on page 123.  Mine did not turn out as cute as theirs but it was very fun top make.  I love all of the fun elements!


Details:
Stamps: Confetti, Tiny Tags
Paper: Summer Starfruit, Early Espresso, Whisper White, Regal Rose
Ink: Regal Rose, Summer Starfruit, Ealy Espresso, Gumball Green
Accessories: Big Shot, Postage Stamp Punch, 1" Square Punch, Stripes Impression Folder, Woodgrain Impression Folder, Primerose Petals Dahlias, Antique Brad, Bird Builder Punch-leaves, Scallop Edge Border Punch, 3/8" Summer Starfruit Stitched Satin Ribbon

Photobucket

Wednesday, December 28, 2011

Fireplace Stockings


This card was CASED from Betty.  I love that so many of SU punches can make other things.

If you love the Stocking Builder Punch as much as I do then you must put it on your next order. Once the current inventory of this punch has been depleted, it will no longer be available for purchase. It WILL NOT be carried over into the next Idea Book & Catalog.

Card Details:
Stamps: Tiny Tags
Paper: Crumb Cake, Early Espresso, Daffodil Delight, Basic Black, Riding Hood Red, Well Worn DSP
Ink: Early Espresso
Accessories: Big Shot, Square Lattice Impression Folder, Word Window Punch, Bird Builder Punch, 2 1/2" Circle Punch, Stocking Builder Punch


Photobucket

Friday, October 07, 2011

From The Heart

These are my most favorite colors!  I think the Well Worn DSP might be one of the only that I use up and will have to re-order before the catalog retires.  I am not a big DSP buyer but these colors hit my taste perfectly!  When I started this card I knew I wanted to do a few rows of hearts.  So I went to look through my DSP to see my color theme.  I figured that I did not want just a plain card front and I did not want to trim around the edge of the Top Not Die so I decided to try something new.   I cut an Early Espresso and then quartered it.  The hardest part was to layer it so all was even.  I tied on my ribbon and tags and it was all set to go in the mail.

Card Details:
Stamps: Heard From the Heart, Tiny Tags
Paper: Crumb Cake, Well Worn DSP, Early Espresso, Not Quite Navy, Cajun Craze, River Rock
Ink: Early Espresso, Not Quite Navy,
Accessories: Big Shot, Top Note Die, Small Heart Punch, Jewelry Punch, Chantilly Crochet Trim Ribbon, Early Espresso Baker's Twine

Photobucket

Wednesday, September 21, 2011

Baby Card Sketch


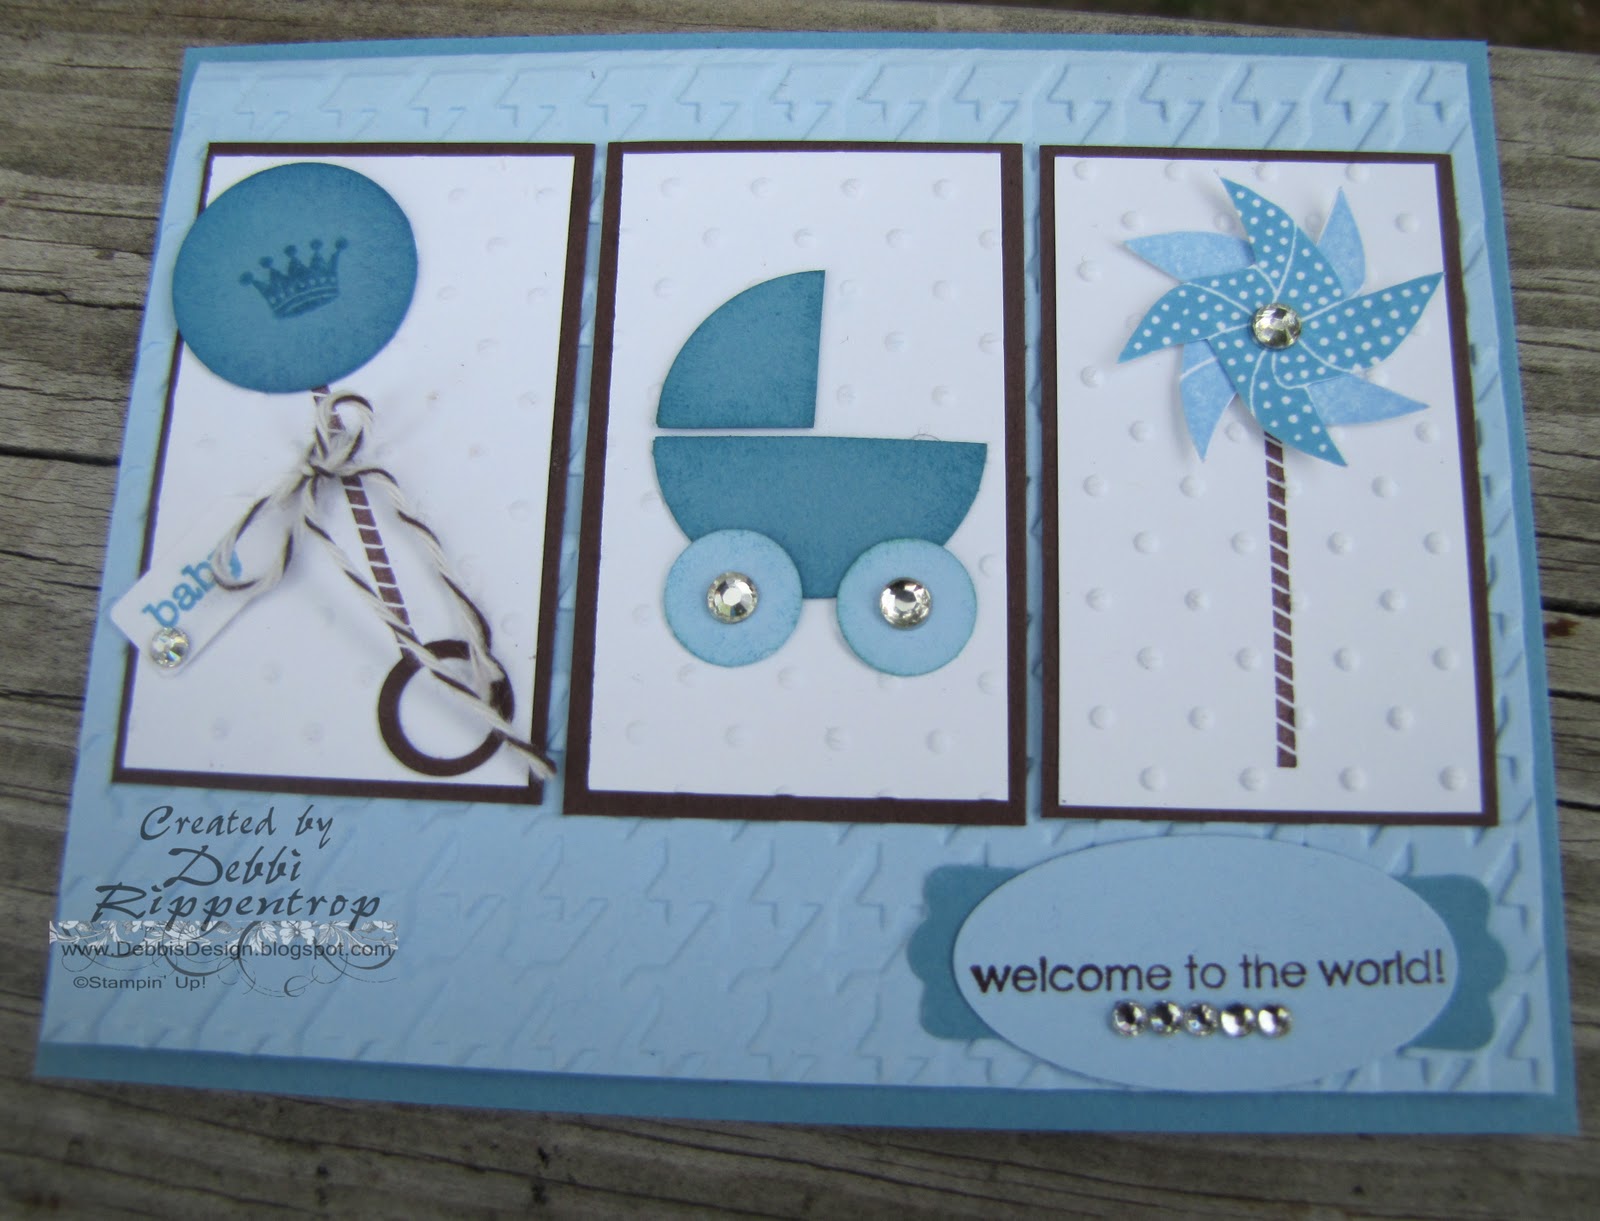
What a fun Sketch to work with this morning!  I just could not fall asleep last night so I took a sneak peak  at the sketch to see what I might dream about doing today.  I knew I was in need of some baby cards for my stash so that was my first thought.  To figure out the colors that I wanted to use was pretty easy.  I figured Pretty Pink for girl and Bashful Blue for the boy.   I then used the color coach to find out what the suggested coordinating colors were.  I knew I wanted to use the Baker's twine to tie on the tag so the Chocolate Chip (I thought the Early Espresso was to dark) was the perfect complimenting color. The folded part of the card is 5.25" x 4" and mounted on a piece of 5.5" x 4.25 card stock. I have problems using the bigger of the rhinestones and since I have another pack (or two...) on my October 1st order I figure I better get around to using them and they fit perfect on this card.  All in all this was a very simple very quick card to put together and now I have another thing crossed off of my do to list!

Details:
Stamps: Sweets for the Sweet, Tiny Tags, A Word for You
Paper: Boy- Bashful Blue, Marina Mist, Whisper White, Chocolate Chip    Girl- Pretty in Pink, Melon Mambo, Whisper White, Chocolate Chip
Ink: Boy- Bashful Blue, Marina Mist, Chocolate Chip  
      Girl- Pretty in Pink, Melon Mambo,  Chocolate Chip
 
Accessories: Big Shot, Basic Rhinestones, Perfect Dots Impression Embossing Folder,   Girl:Finial Press Impression Embossing Folder, Boy: Houndstooth Impression Embossing Folder

Rattle: Circle Punch from the Itty Bitty  Shapes Punch Pack, 1/2" Circle Punch, 1" Circle Punch, Jewelry Tag Punch, Early Espresso Baker's Twine

Carriage:1-1/4" Circle Punch, 1/2" Circle Punch

Sentiment: Large Oval Punch, Modern Label Punch


Photobucket

Tuesday, August 16, 2011

Need for Thank You-s


Our theme this year for Bible School was Rev it Up!  So I was very pleased when I saw the Need for Speed set in the new catalog.  I needed to make a bunch of Thank you cards for all of the volunteers so I put my kids to work punching and sponging. My 11 yr old son even cut out all of the cars for me after I stamped them.  What great helpers I have and I think the cards turned out great and were appreciated!

Card Details:
Stamps: Need for Speed, Tiny Tags
Paper: Pool Party, Island Indigo, Whisper White, Early Espresso
Ink: Early Espresso, Sponge-Pool Party, Island Indigo
Accessories:  Big Shot, Impression Embossing Folders: Stripes, Square Lattice, Perfect Polka Dots, Tasteful Trim Die, Petite Pennants Builder Punch, Extra Large Oval Punch, 3/4" Circle Punch, 1/2" Circle Punch


Photobucket

Friday, March 04, 2011

Flourish Mushroom

This is a card made up of a couple of trial and mistakes.  The mushrooms had been sitting on my shelf since before Christmas and one day I accidentally set the flourish stamp on it wet.  Well I liked the way the accident looked so I kept it...sitting on my shelf  The backing was from when I was playing around with the tulip Impression Folder to see how to resize it.  That too had been set aside for a future use.  So I had some friends over the other night to make cards and I was digging through my scraps to see what I wanted to work on and these just fell together perfectly. 

Card Details:
Stamps: Teeny Tiny Wishes, Tiny Tags, Funky Four
Paper: Sahara Sand, Not Quite Navy, Soft Suede, Very Vanilla
Ink: Sahara Sand, Not Quite Navy, Soft Suede
Accessories: Framed Tulips Impressions Folder, Big Shot,Decorative Label Punch,pearls, Antique Brads


Photobucket

Friday, December 31, 2010

Happy Birthday Sophia

  
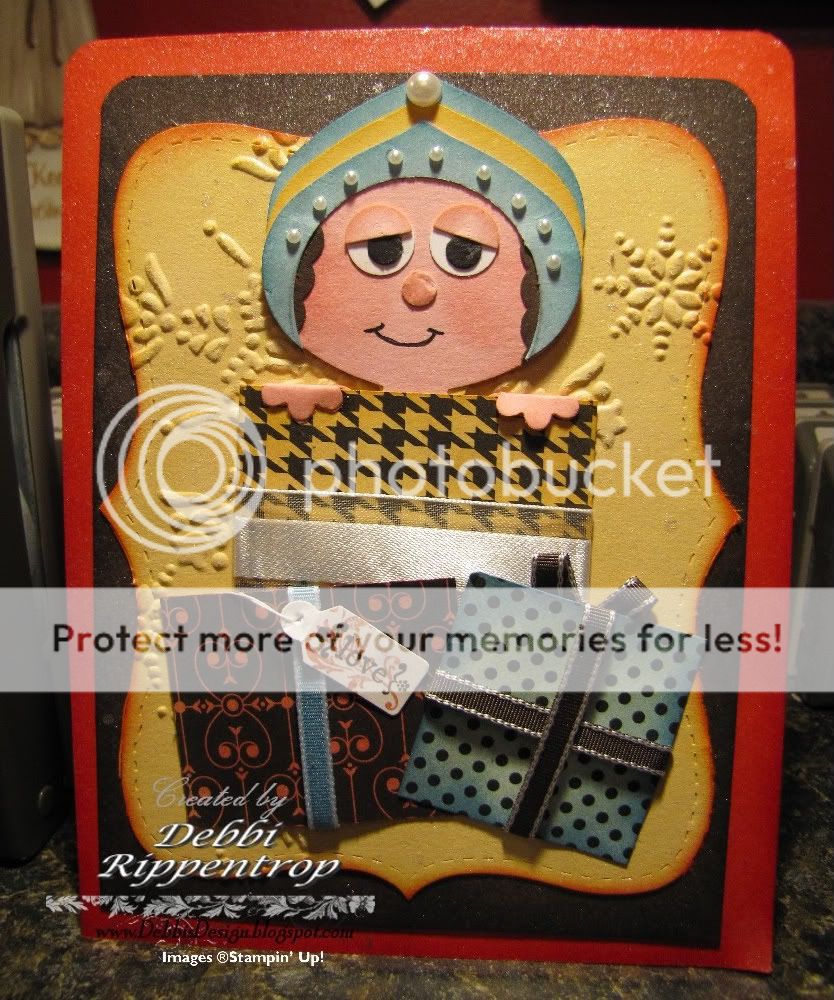
Today is my niece's 3rd birthday. I wanted to make a very special card for her. I saw a card on Andrea Walford's  site and just had to make one of the little people I have seen popping up everywhere. Since I received the Ornament Punch for Christmas I just had to give one a try.  I do not have a lot of designer paper so I decided to use Love Letter Paper and color it with ink pads and sponges.  So here is my little Sophia with pearls on her hat, lots of pretty presents and plenty of sparkle.  

Wishing you all a Very Happy New Year!

Card Details:
Stamps:Tiny Tags
Paper: Early Espresso, Poppy Parade, So Saffron, Pretty in Pink, Baja Breeze, Love Letter DSP, Whisper White, Basic Black
Ink: Early Espresso, Poppy Parade, So Saffron, Blushing Bride, Baja Breeze 
Accessories: Big Shot, Northern Fury Impression Folder, Top Note Die, Corner Rounder Punch, Ornament Punch, Circle from the Itty Bitty Shapes Punch Pack, Smallest circle was made with the Crop-a-dile, Jewelry Tag Punch, Hair-Dotted Scallop Ribbon Punch, Hands-Boho Blossoms, 5/8" Whisper White Organza Ribbon, 1/8" Taffeta Ribbon-Marina Mist, Early Espresso, Basic Pearls, Vanilla Shimmer Smooch Spritz

Photobucket

Friday, November 05, 2010

Pacific Thank you

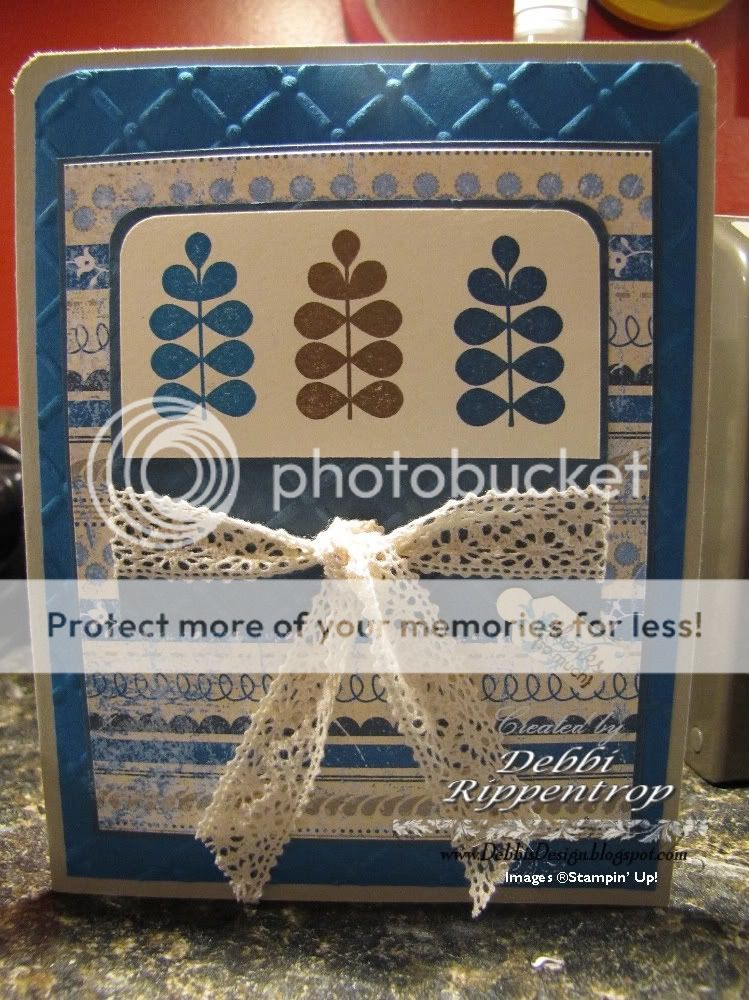
 I just love browns and blues together and thought his was a great color combo taken from the designer paper. Can you tell that I love it, I just cannot get away from it.  I know I saw this sketch on a blog somewhere and I am sorry if the credit is to go to someone specific.  It is an easy one that I know I will be using again sometime. This was a very simple stamp, layer, no sponging (wow!), punch, impress card.


Card Details:
Stamps: Funky Four, Tiny Tags
Paper: Pacific Point, Crumb Cake, Blueberry Crisp DSP, Very Vanilla, Not Quite Navy
Ink: Pacific Point, Soft Suede, Not Quite Navy
Accessories: Big Shot, Corner Rounder Punch, Perfect Details Texturz Plate, Victoria Crochet Trim Ribbon, Jewelry Tag Punch


Photobucket

Friday, October 08, 2010

Balloon Owls


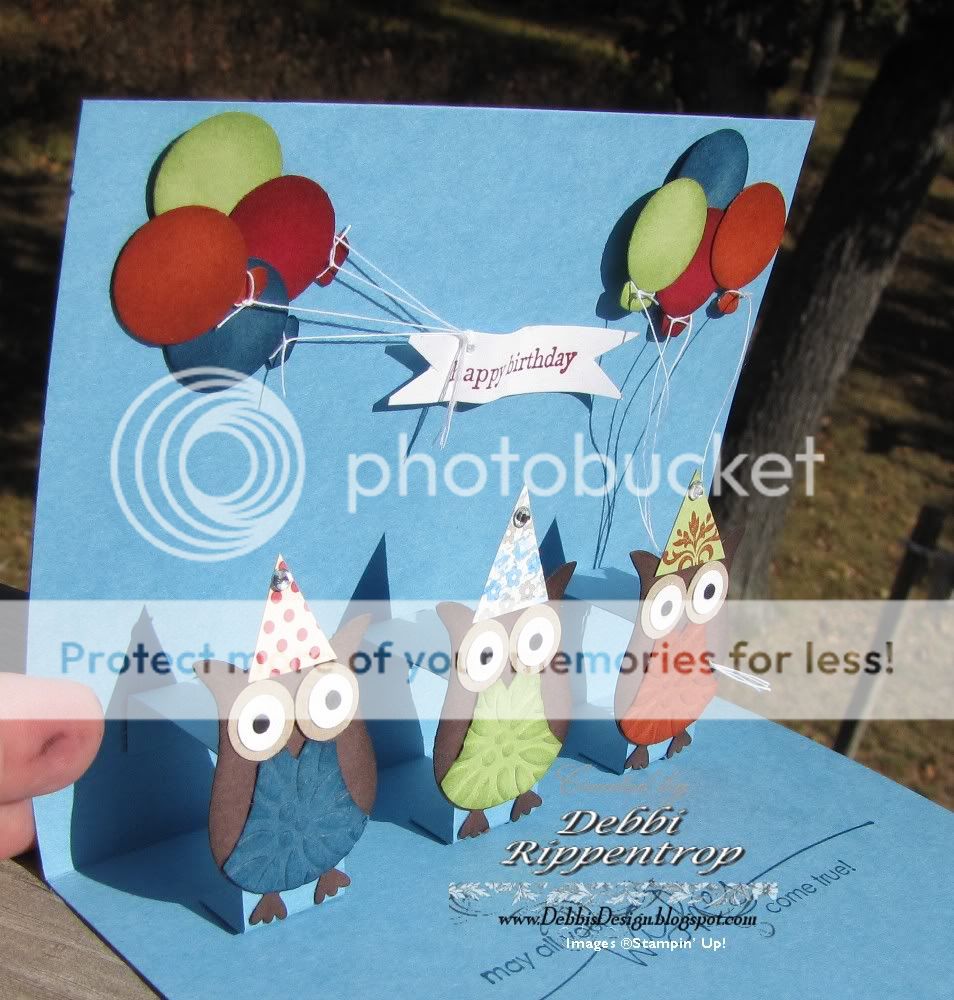
My daughter has a birthday party to go to tomorrow so I had to get a card made.  This one took me most of the week because my spare time is so sparse right now. When I saw this one on Splitcoast I know it was the one I wanted to do.  She asked if I could add a few balloons so that is just what I did ;)  I tore a piece of scratch paper and used my Whisper White Craft ink to create the clouds in the background.

The balloons are made with the 3/4" circle punch and a trimmed corner.  The hats I just free hand cut and she wanted some rhinestones added because all 9 yr old gilrs need lots of bling.

I chose not to cut the card but to just add legs for the pop up.  The hardest part was tying all of the thread to the balloons.


Stamps: Tiny Tags, Woodgrain Background, Heard from the Heart, Teeny Tiny Wishes
Paper: Marina Mist, Old Olive, Chocolate Chip, Crumb Cake, Cherry Cobbler, Not Quite Navy, Pear Pizazz, Cajun Craze, Whisper White, Basic Black
Ink: Early Espresso, Old Olive, Cherry Cobbler, Not Quite Navy, Lots of sponging with the matching colors
Accessories:  3/4" Circle Punch, Owl Punch, Bird Punch-Leaves, Wide Oval Punch, Jewelry Tag Punch


I am headed in for my first surgery on Monday so it may be a while before I can post again (unless I steal some time this weekend :)   )  Enjoy the beautiful fall weather and colors!

Photobucket

Wednesday, September 29, 2010

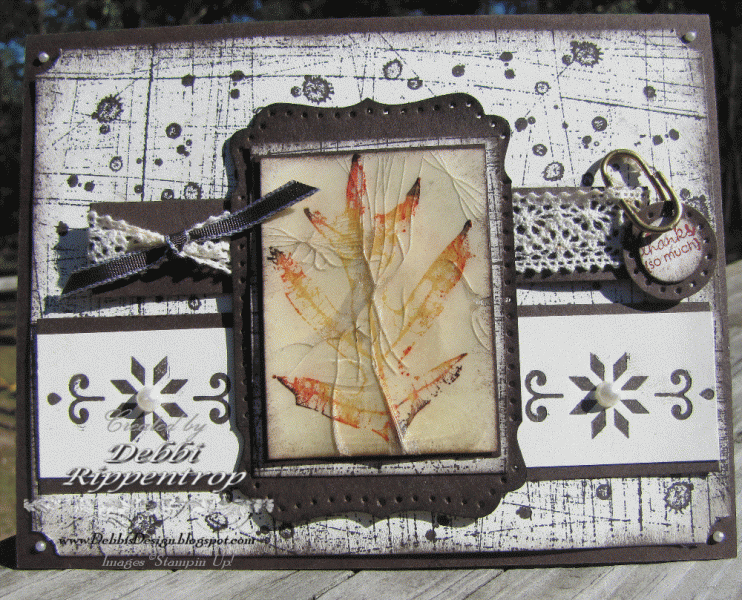
Fall Leaves


Well, I worked around the upload problem....guess I will have to find time to figure that out. I just had to take time today to stamp, it has bee way toooo long!  My 1st of 3 surgeries is scheduled in less than 2 weeks and I am trying so hard to get everything in my house ready for my re-cooping not to mention home-schooling and running the kids to all of their events.

  After not stamping for a long time I really struggled with this card and almost gave up a few times.  I got a new order from the Holiday mini earlier this week and it has been just wanting to be played with.  I had 3 different images on the front before I finally had something I would even post.  Good news is I now have 2 other images to use on a card in the near future. I had the idea to elongate the new Decorative label punch so I had it all cut and put together and just had to have an image that fit in that space.  Because I made such a busy background I wanted to keep everything else pretty simple.  I did not think the silver clip worked as well with fall colors, and I am just a gold girl...don't own much silver besides my SU! jewelry.  So I heated up the clip and dipped in in the gold embossing powder.It is looped through the ribbon and held in place with the glue dots.  I love the new Letter Press Plates!!!  I still need a bit of practice but they are so fun and add just the right dimension.

I love the cracked Glass technique with the fall leaves.  It is so easy to do and just takes a few layers of Clear Embossing powder and a freezer.

I better get back to work.  Hope to see you all again soon!!

Card Details:

Stamps: French Foliage, Sanded Background, Tiny Tags
Paper: Early Espresso, Very Vanilla
Ink: Early Espresso, More Mustard, Cajun Craze, Versa Mark
Accessories: Crystal Clear Embossing Powder, Gold Embossing Powder, 1/2" Circle Punch, 3/4" Circle Punch, Victoria Ribbon, Early Espresso Taffeta Ribbon, Clip Assortment, Basic Pearls, Northern Trim Letterpress Plate, Decorative Label Punch, Big Shot, Piercing Tool and Mat Pack
Techniques: Cracked Glass


Photobucket

Wednesday, July 21, 2010

Owl Hello


It was a very hard to decide what to use this morning.  My first real order from the catalog came in on Monday and I am re-modeling a bedroom into a laundry room so my time is not spent stamping right now and I feel guilty doing anything else.  Well, this morning between running my son to driver's training and picking him up before lunch and then off to a doctor's appointment I had a few to sit down and play (after all I could not do any sanding since I was already dressed for the doctor appointment). :)  I took a look at the Sketch challenge and this card just fell in to place.  It was probably the easiest concept card I have made in a very long time. The biggest challenge was to decide what of my new order was going to be used.  Since I am trying to hold the budget tighter and I tend to buy a lot of Designer paper (and not use it) I only allowed myself to buy one pack of paper this time so that really helped with the color scheme.  I knew the second I saw the sketch that I wanted to use the owl punch and they fit perfect in the concept.  I did do quite a bit of sponging.  I think the only thing I dd not sponge was the white of the owl's eyes.  I am so glad I bought some of the pretty new ribbon. I just love this Victoria ribbon!! and should I use the pearl halves or the rhinestones....I went with the pearls since they seemed to match my color scheme more.  I did stamp off the light flower on the jewelry tag punch to lighten it.  I popped up the middle owl with a Dimensional.

Card Details:
Stamps: Sanded Background, Tiny Tags
Paper: Marina Mist, pacific Point, Whisper White, Crumb Cake, Basic Black, Cherry Cobbler, Blueberry Crisp Designer Paper, Sahara Sand
Ink: Pacific Point, Crumb Cake, Cherry Cobbler, Marina Mist
Accessories: Two Step Owl Punch, Jewelry Tag Punch, Pearl Half, Victoria Crochet Ribbon

Photobucket

Tuesday, June 08, 2010

Button Flowers

I needed a card for an anniversary so I had to make time to stamp.  I plan on doing some major organization this week so hopefully I can get back in the swing of things again and be able to have more time to stamp.  I got my pre-order for the new catalog (love it!) and just had to try out this idea I saw in it.  I have had this button die since the beginning of last years catalog and just loved the idea of using them as flower heads. The stems are just thinly cut card stock with the leaves added on. Edited to add that it is on page 210 of the 2010 catalog.

Card Details:
Stamps: Tiny Tags, Woodgrain Background
Paper: Marina Mist, Whisper White, Old Olive, Regal Rose, Bashful Blue, Rich Razzleberry
Ink: Marina Mist, Old Olive, Rich Razzleberry, Regal Rose
Accessories: Big Shot, Vintage Wallpaper Impression Folder, Scallop Trim Border Punch, Little Leaves Die, Buttons #5 Dies, Whisper White Organza Ribbon, Jewelry Tag Medium Punch, Heart Small Punch, Sewing Thread
Signature

Friday, April 02, 2010

Simple CASE

This is another of the cards that I included for the ladies door prize basket.  I once again hit the galleries to find some ideas. This card was so nice and easy to make.  I just punched out the colors I wanted to use that went with the colors in the felt flowers and added a scallop border punch to the bottom..  I had the Regal Rose already embossed in my scraps so it was super easy to put together.


Card Details:
Stamps: Tiny Tags
Paper: Rose Red, Whisper White, Pumpkin Pie Patterns Designer Paper, Old Olive Patterns Designer Paper
Ink: Rose Red
Accessories: Flower Fusion, Rose Red Brad, Big Shot, Finial Press Impression Folder

Signature

Friday, February 19, 2010

Happy Puppy Birthday

We had a birthday party to attend for a little boy last weekend and I wanted to make him a very fun card.  So after about 20 remakes this is what I finally settled with (and yes, this is the card that the Build-a-bear from Wednesday's post was originally cut for).  I got the puppy idea from Jackie's Blog.  I did change up the eyes to fit how I wanted them to.  If you ever want great punch art inspiration that is the place to go! The background is a wheel.  Do you even know how long it has been since I used a wheel?  They got put in the background and when I can't see them they do not get used.  So now they have a new home and we will see if that helps.  The gifts are just square punches with thin card stock crossed on them.  To do the bows I punched with the small oval and then the large, cut them in half and offset them behind the gift.

Card Details

Stamps: Tiny Tags, Teeny Tiny Wishes, Spot On Jumbo Wheel
Paper: Certainly Celery, Old Olive, Very Vanilla, Chocolate Chip, Close to Cocoa, Basic Black, Real Red, Old Olive Print Patterns
Ink: Old Olive
Accessories: Big Shot, Movers and Shapers Die, Large Oval Punch, Small Oval Punch, Gold Elastic Cord, Word Window Punch, Wide Oval Punch, 5 Petal Punch, Crop-a-Dile (punches), Library Clip, Modern Label Punch
Signature
Related Posts with Thumbnails