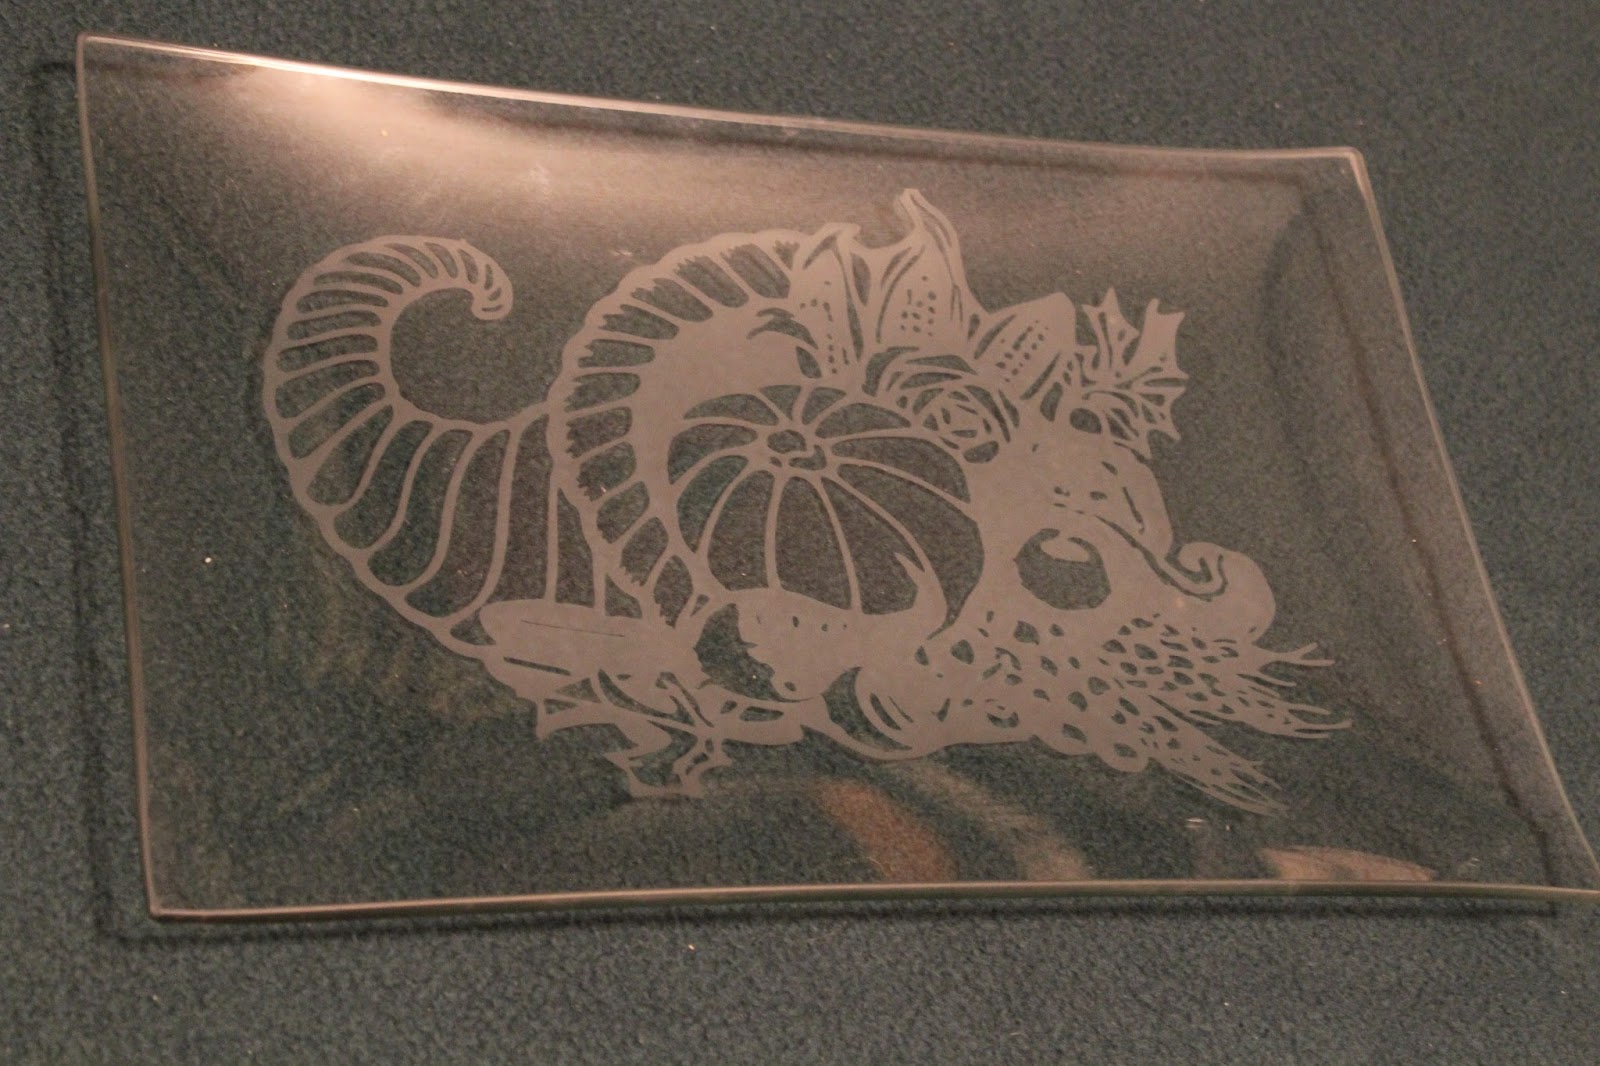
So today I thought I would throw in a tutorial on how I do my glass bricks. This is a completed picture of a couple that I finished. They are really had to get a good picture of. If you click on the picture it will open it larger in a new window.

The supplies I used are:
Drilled Glass Brick (my husband drilled a hole with a glass bit)
I used and 8" x 8"
Versamark Ink
Stamp Set
Embossing Buddy
Embossing powder
Glass cleaner and rag
Etching Cream
Rubber Glove
Lights and Ribbon to decorate
Contact paper or any masking type tape
To get a good image the surface has to be very clean. Make sure you have no finger marks or smudges at all.
I then use my Embossing buddy.

I tap it on to get a good coverage of powder on the glass. Be careful not to touch the glass with your hand at all. I then just blow off the extra dust.

I ink up my stamp with my Versamark pad.
Stamp your images on the object being very careful not to touch anything but the outside edge with your hands. The powder makes it easier to see the image and to keep stray embossing powder off the glass. If you see an error in your image at this point it is still easy to fix. Just rewash and start again.

After you have your image(s) stamped on the object as you wish then dump on the embossing powder. I am using White detail embossing powder since I have chosen a fine detailed stamp.

I shake the powder around and dump it off. I sternly tap the brick on my scratch paper to remove any extra powder. Once again double check your image. This is still any easy time to fix any errors in your image. If there is something wrong, wash and start again. If not heat up that gun!

Heat your image throughly with a heat gun. Be very careful to make sure everything gets heated. I have found bricks and plates no problem to heat. I have attempted to do a piece of glass and the heat gun cracked the glass. Make sure your object will be able to handle the heat gun or that it is easily replaceable.

After the image is embossed it will have a nice glossy look. If anything is still broken or light make sure to heat it again. If not that area will not turn out. The washing or etching cream will remove the powder if not heated well. If at this point you see a mess up let the object cool and use a hobby knife to scrap off the area that needs repair. Scrub clean and start that area from the beginning. If you used more than one stamp and only one needs repair only that one needs to be removed. The heated embossing powder will withstand washing.

If there is any part of your object you do not want etched now is the time to mask that off. I just use scraps of contact paper I have left over from another project.

Now is another time to make sure your object is totally free of any finger prints, or stray powder. Anything left on the glass will effect how you glass is etched. So make sure it is perfectly clean. Also make sure your masking tape is secure and pressed tight.

Next I just dump on the etching cream.
I use a plastic spoon to spread around (never use metal).
Spread quickly keeping the cream thick all over the image. If the cream sits longer in one area it will effect the evenness of the etching.

After it has set on the glass for 5 minutes I put on my protective glove. I used to use a sponge to remove the excess cream but I found it was just easier to wipe it with my finger back in the jar.

I wipe off all the excess cream I can get off. The cream can be used over and over again. You will notice the first time you use it, it is the consistency of elmers glue. The more it is used it will get thicker. When it gets to a thick paste form I just throw it out as it is too hard to spread evenly fast.

After I have removed all of the cream I run it under very hot water. We have an outdoor wood burning stove so our water gets very very hot. If that is the case be careful so the brick will not crack because of the heat. Rinse off all of the cream and remove the masking tape.

If your water is nice and hot the embossing powder will wash right off too. If not you will have to scrub it off. I just use a plastic dish scrub or a plastic spoon will work too. Continue to wash until everything is off of the surface.
Prior to etching I have removed all of the white paint that comes around the edges of the brick. This is easy enough done by soaking in warm water. I then just took a brush and scrubbed it off. This can be done either before or after etching. I then use a decorative ribbon around the edge. It can be fastened on with either adhesive of glue dots. For the 8" x 8" bricks I used a 35 ct white lights. Colored light also look very nice.
ENJOY!!
*Edited to add- I bought the bricks and lights at Menards. I went back yesterday to get more lights and could not find the small count at any store. Thankfully a friend found them in another city for me so I could finish my orders. So they are now very hard to find!