Well, since I cannot sleep, but cannot be up and about I decided to put together a tutorial on how to make you own blog background in MDS (My Digital Studio). If you need to see the images larger, click on them and they will open in a new window-tab.
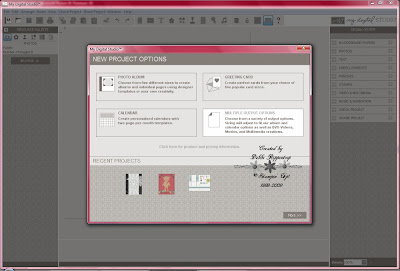
Ok, Here we go...open your MDS and choose Multiple Output Options.
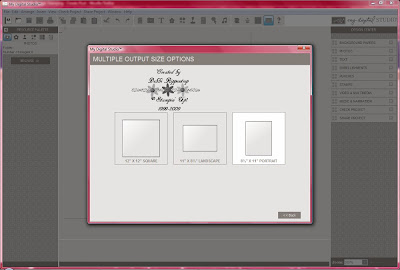
Choose the size paper you want to use. I did mine in MDS on a 12 x12 page (but it will work on 8.5" x 11") I just like extra area to keep embellishments. I will use an 8.5" x 11" here since I plan on keeping it simple.
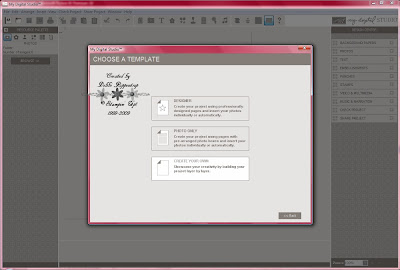
I chose the Create You Own Option. If you want to use some of their pre-made ideas you could go to Designer also.
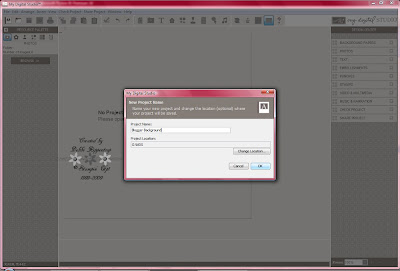
Next it will ask you to name your project and where to keep it. I keep all of my work on an external hard drive since I work back and forth between my laptop and my desktop. That way all of my projects are in the same place.
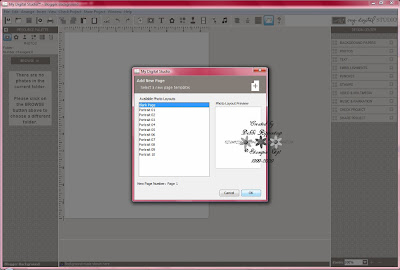
Then you will have the options of a blank or they will give you a variety of layouts. I choose blank page since I want to start with a fresh canvas.
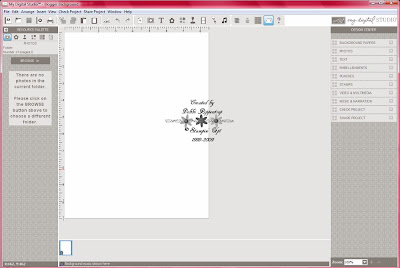
So it will give me a blank 8.5" x 11" page.
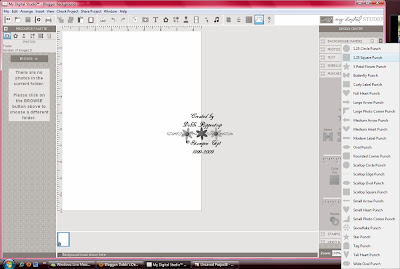
In order for me to keep my back page blank and create the background I want in the size that I want I will use the square punch to create my background.
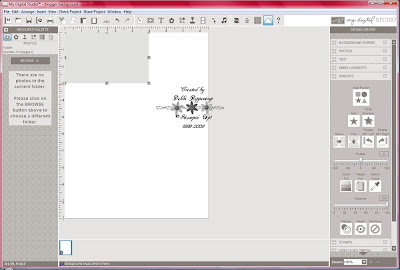
Once I have my square punch stretched to the size that I want it (5" wide x 3" high) I can go ahead and click the paper fill button.
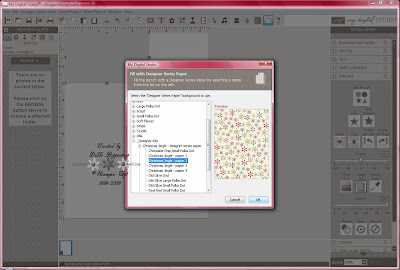
I have decided to make this one a Christmas background. I'm using Designer Kit/ Christmas Jingle Paper 2.
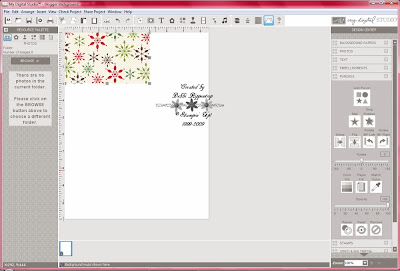
So my square punch is filled in with the paper of my choice. Make sure to stretch your punch to the size you want it before you fill it. That way the paper will not be distorted.
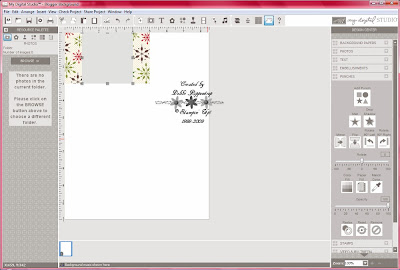
I am once again going back to the square punch for the post area of my blog. I will stretch this one to go from top to bottom and 1" from the outside of each left/right edge.
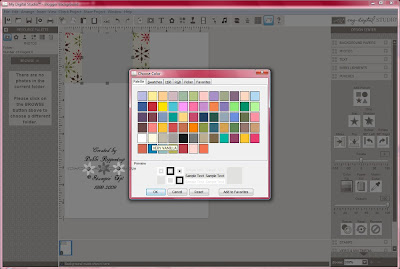
I am then going to use the color fill to fill in this punch. I decided to use Very Vanilla.
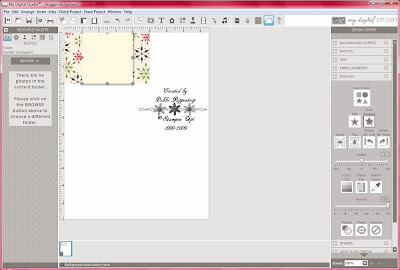
So now I have my 3" x 5" background with a post area that is 1" less on each side.
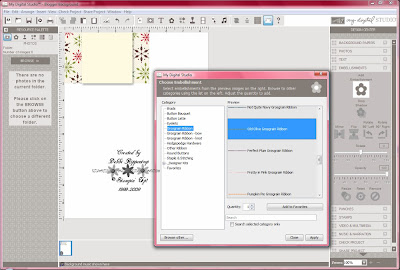
So now I am ready to add some embellishments. I've decided to add some Old Olive Grosgrain ribbon.
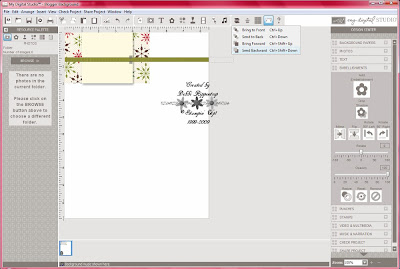
Since it is the last layer I have added it will automatically put it on the top. You will need to go to the Change Object Layer area and Send Backward. This will take it back one layer to be under the post area but still above the base.
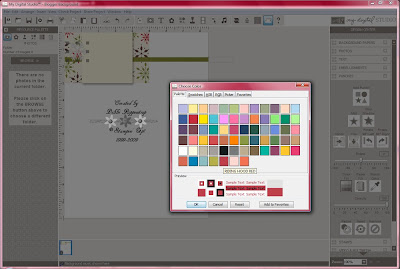
So now I have already gone back to the punch area and have added a snowflake punch. I am now going to change the color to the Ruby Red to match the paper. If you do not know the name of the color you are trying to match you can always use the Picker option which is the 2nd to the last tab in the color chart above or you can use the Match color option. Either will take you to the same place where you use the dropper to pick the color already being used that you want to match.
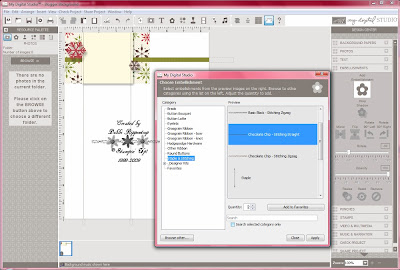
So I have added 2 snowflakes and have given them some dimension with the drop shadow option. Now I was thinking of adding some stitching from the Embellishment area. Since I want to use 2 and I do not want to apply twice I can change the quantity right here in the window and hit Apply.
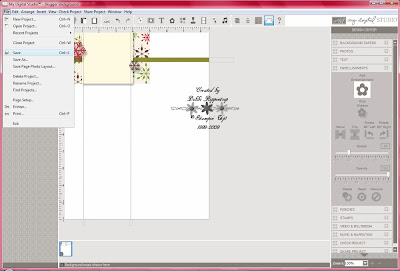
So here is the blog background that I have created. Try not to put things too close to the top. Depending on the size they will either get cut off or interfere with your blog banner.
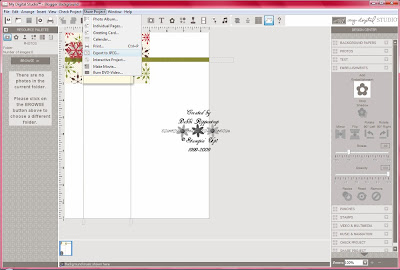
After checking it all over and saving it you will want to click Share Project and choose Export to JPEG. It will walk you through the saving process. Edited to add: When you get to the JPG size screen, (option right before the image below.) you must choose large.
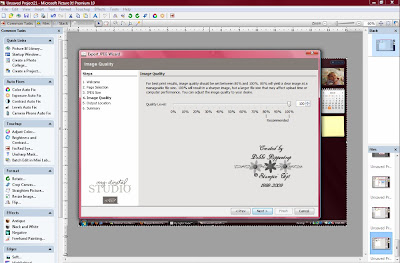
I always bump this up to 100% just to make sure that it is as crisp as it can be.
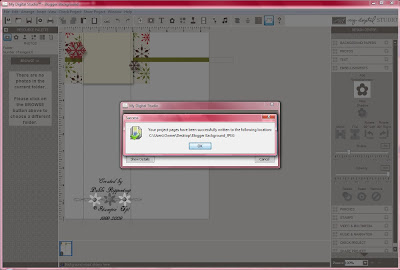
Tell it where you want it saved and it will let you know when it is ready.
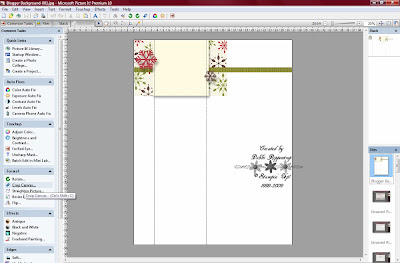
Next you will need a photo editing program. I use Microsoft Picture It 10 (or now called Digital Imaging). So I brought in my JPEG blog background. I am going to go to my crop image option here.
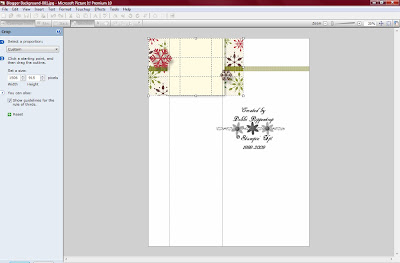
I am going to crop everything outside of my 3"x 5" area off.
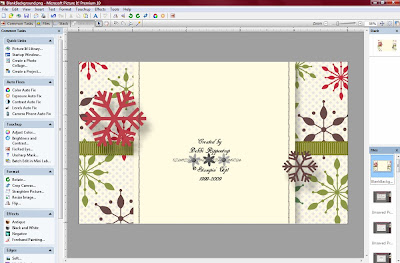
You will need to make sure that your image held it's size. If it does not you can either re-size your image so it does or create a blank 3" x 5" canvas and place your blog background to fit on that.
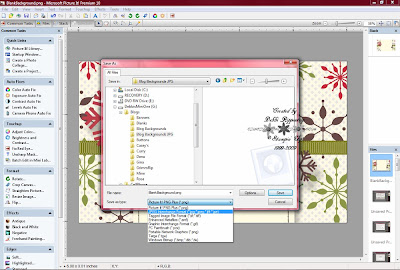
After your image is how you want it to be you will need to save it as a JPEG. (Remember where you put it :) )
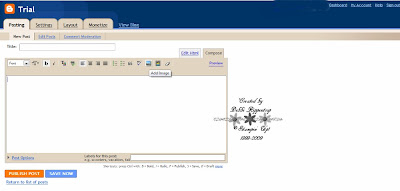
Off to blogger we go. Now I have an extra blog (why not, they are free) to store images and play around with codes. So I go there and start a new post.
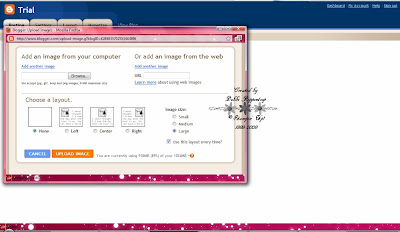
I then choose to upload a picture by clicking on the picture icon above the new post box. Hit browse and point it to where you saved your cropped background.
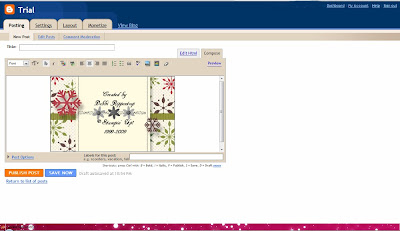
After you picture has processed it will be in you post box, go ahead and publish post.
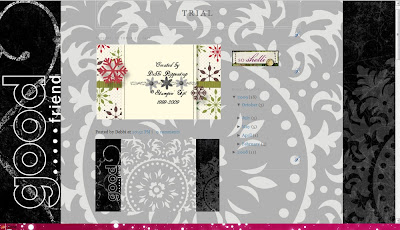
Here is one I have been playing with and as you can see the new blog background is my top post. I tend to be one who has a bunch of tabs open at once. Since I do not want to go back and forth I am going to right click on the new background thumbnail and choose Open Link in New Tab. Depending on your browser, it may say different things. I am using Firefox.
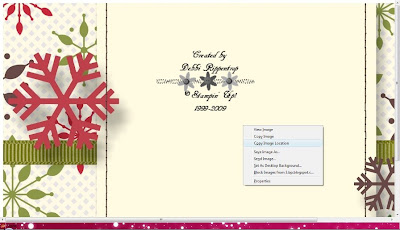
So if you have chose to open in a new tab this is what you will see. Again you will need to right click on the image and choose Copy Image Location. You cannot just choose copy. You will not get the right address for the code.
Edited to add directions for getting the code in the IE Browser:
I am using another background since I no longer have the one I originally made for this tutorial.
Once you have clicked on your image to open it in a window/tab you will want to right click on the image and choose Properties.
After you have click properties this window should pop open. You will have to highlight the address or URL here. Once again, the code will not work if you just copy the address from the address bar, it must be taken from here. Once you have copied the code for the properties menu you will then paste it in the code given below.
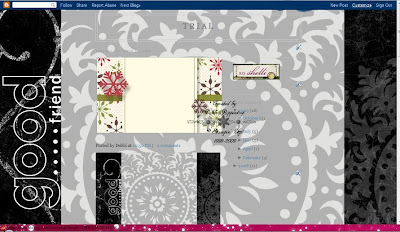
Back on your blog page you are going to want to click Customize in the navigation bar in the upper right hand corner of Blogger. It will take you to the following page.
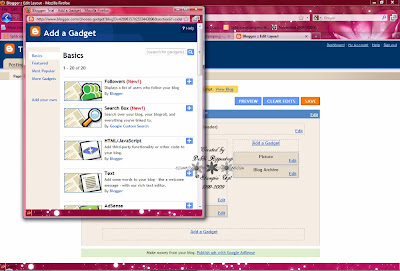
Here you will want to add a gadget and choose the HTML one.
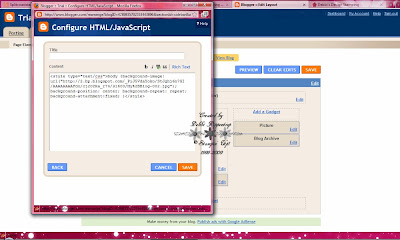
Add this code (remove the :) at the beginning and end). The code would not post without a break. Do not forget to paste the Copy Image Location address in the appointed place:
<:)style type="text/css">body {background-image: url("Here is where you will paste the Image location that you copied"); background-position: center; background-repeat: repeat; background-attachment:fixed;}<:)/style>
Save
You can drag the gadget to where ever you want it in your Gadget layout. It will just be an empty gap.
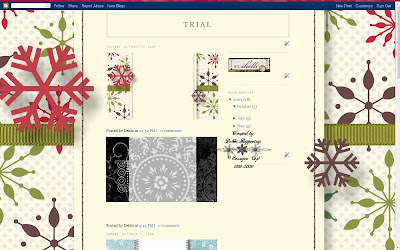
So here is the new background that I have created. I hit F11 so I could show it as a full screen.
Edited to add: Some have contacted me with the problem that the image is tiled all over rather than filling the screen. The problem here is that your image is not holding the full size after you have cropped it. The fix is to create a blank canvas in your photo editing program that is 3" x 5". Layer your cropped background unto that blank canvas, save and upload.
I hope this has helped those who want to create their own blog background with MDS but did not know where to start. If you have any questions feel free to ask!!
If there is any interested I will try to do a Banner Tutorial.


